
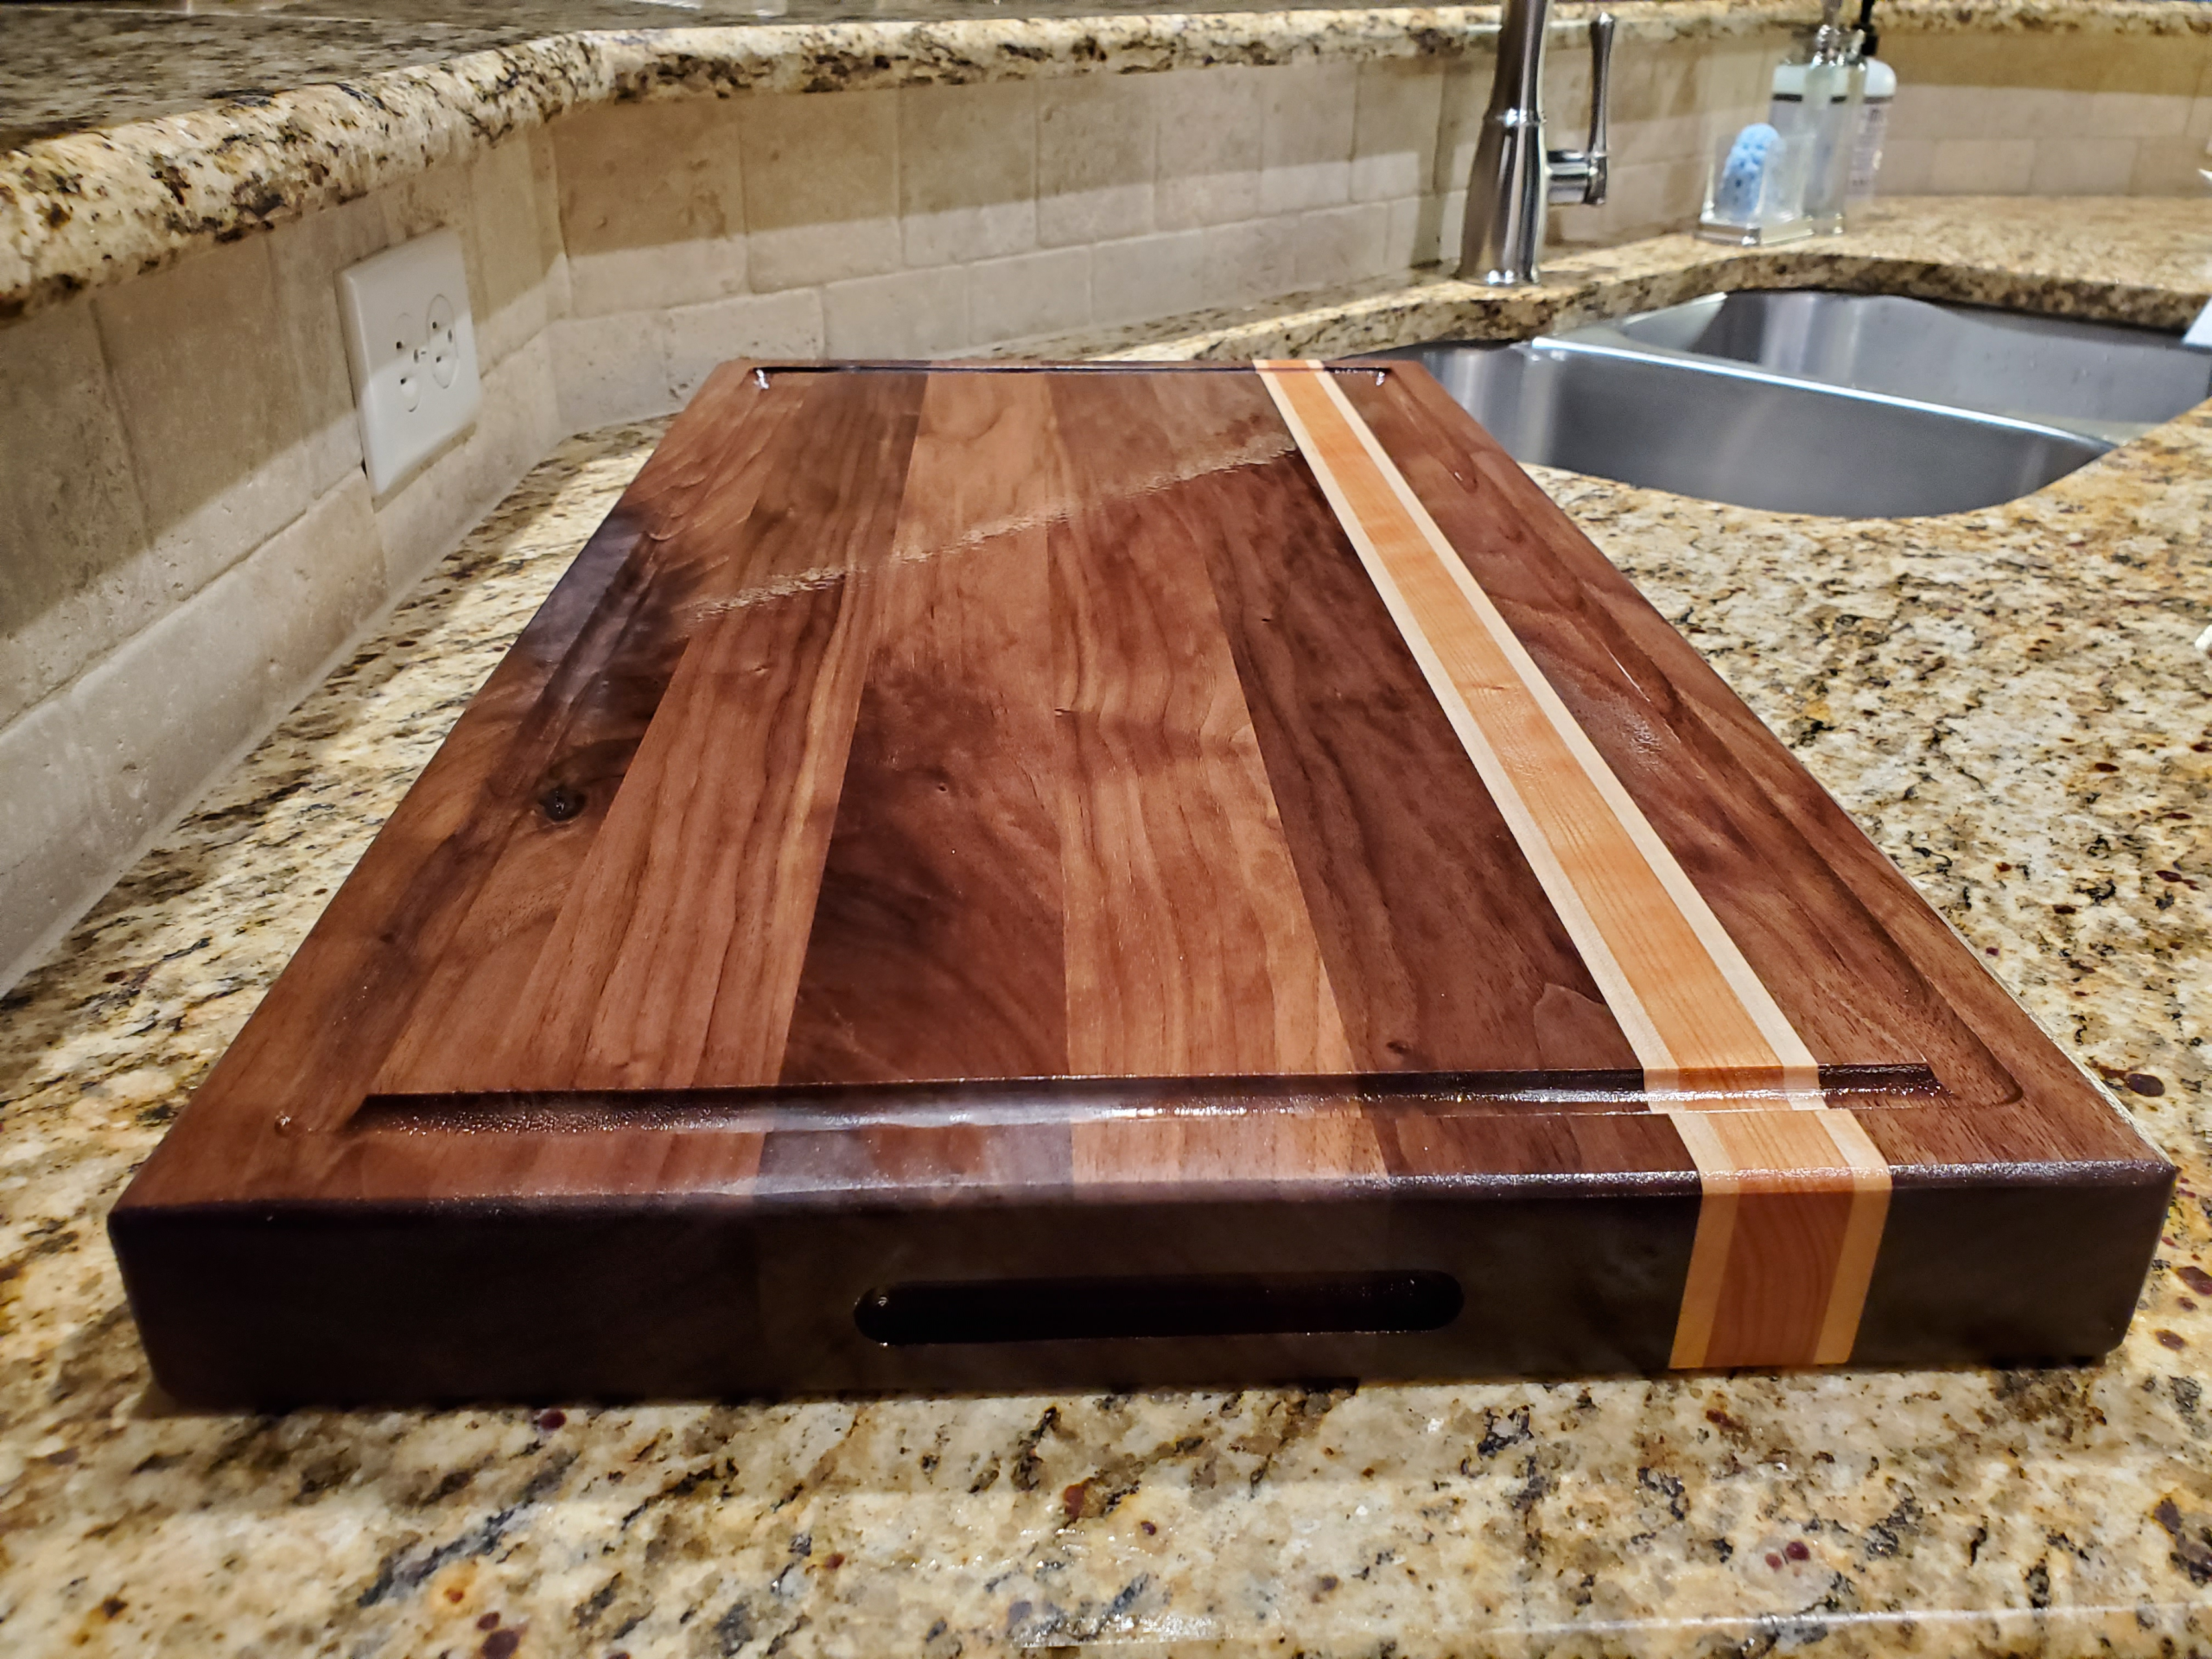
I made this walnut, cherry, and maple edge-grain cutting board with a juice groove and finger grip. I’ve made several like this and it is always a crowd pleaser. I wish I had a better picture of how it turned out.
Build
The build process is pretty straight forward. I start with 8/4 black walnut, 4/4 maple, and 4/4 cherry. My bandsaw is pretty limited and cuts really slow, so I first cut the the maple into 1-7/8 in and then carefully rip in half on my Saw Stop tablesaw. To make this a little safer, sometimes I rip it just under half way through and then flip it over to do the other side. This leaves a small piece connecting the two that I cut with the band saw or hand saw. After ripping it, I send it through my Laguna SuperMax 16-32 Drum Sander.
Once everything is cut to size, I lay it out and see how the grain looks. Since it is a cutting board, you need to use a food safe glue. I typically use Titebond III for cutting boards. Its important that the joints are perfectly flat so that you get perfect glue lines and the cutting board doesn’t crack over time. I try to go from milling to glue-up in the same day if possible to avoid any twisting or warping.
After letting the glue cure for a day or so, I reflatten the cutting board. I often use a flat board under the cutting board and shim and use double-sided tape to send it through my Dewalt DW735 13in Planer or drum sander if its too large. This is when you start to see how the finished product is going to look. It also is where your imperfections and mistakes start to show. After flattening, I square everything up on the table saw.
I sand through the grits to 150 grit and then add the juice groove. I really hate this process. It seems like I always make a little mistake or two in routering out the juice groove. Then I take it over to my Jessem router table for the finger grip. I set up the fence with a double feather board and two stop blocks. This makes quick work out of the grips. To make sure its perfectly centered, sometimes I flip the board and send it through a second time. The handles are a simple addition that make the use so much better. There are number of different styles but I think its a must. To finish it off I use a 1/4 in roundover bit to break the edges.
I finish sand to 320 grit with a water pop in between each grit. I use sand paper wrapped around a small dowel to get into the juice groove and finger grips. This is where my patience tends to run out and I just want the project to be done.
I finished the board with Walrus Oil, it was the first time using it and I really liked it. I want to see how it holds up and if its better than mineral oil and beeswax mix, which is my budget go to. Overall, its a simple and beautiful project that never ceases to impress.
Leave a Reply